How to create your own monastery garden
Tips and instructions for creatively designing and maintaining an inspiring monastery garden at home
How to create your own monastery garden...!
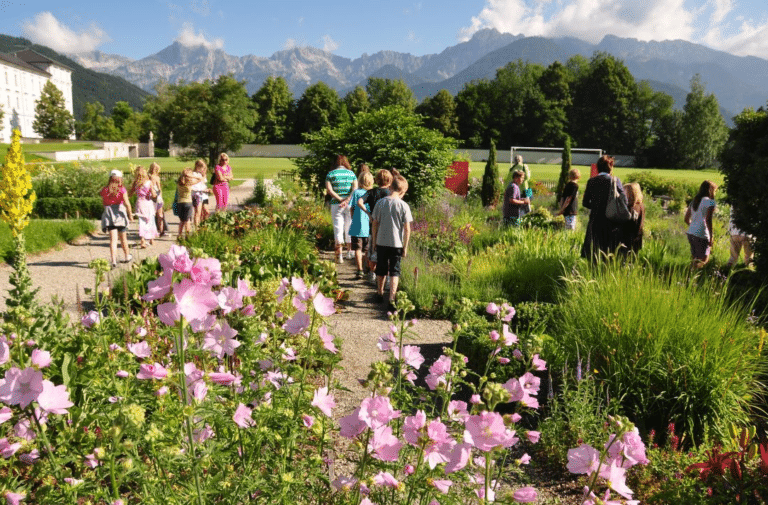
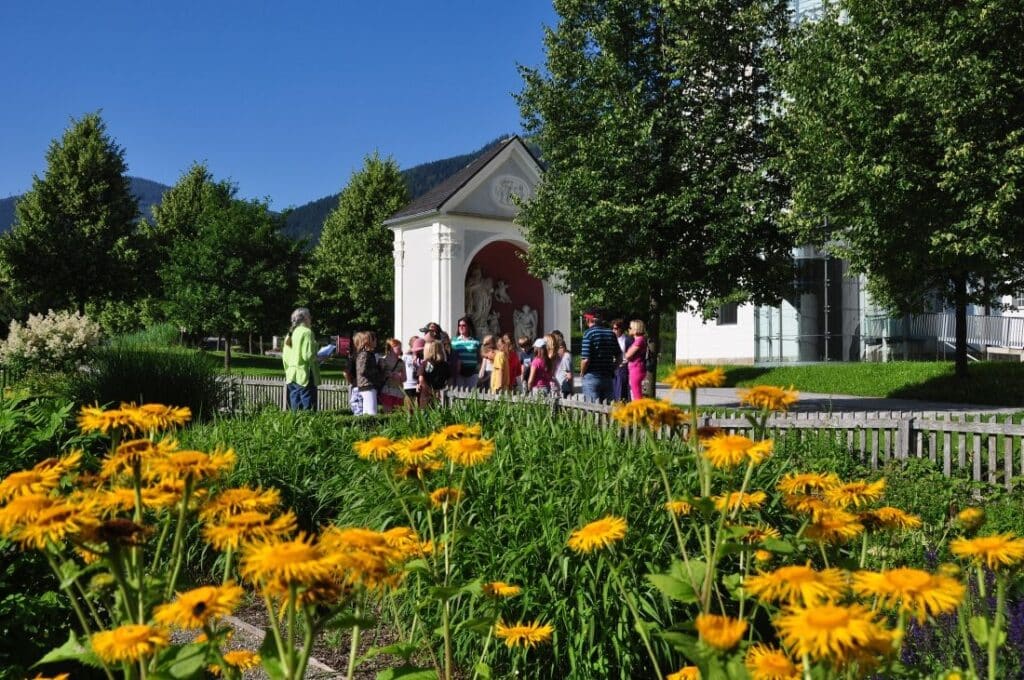
It's hard to believe, but the monastery garden at Admont Benedictine Abbey contains around one thousand different plant species. These thrive harmoniously together in six geometrically arranged beds. Sounds good? And it is! But for medicinal herbs, vegetable plants and flowers to grow side by side, you need good planning and some prior knowledge. Here we show you how to create a monastery garden at home...

Smallest space, greatest possible variety
If you look at a monastery garden, you can see it at first glance: Here, every little patch of earth, no matter how small, is put to optimum use. No wonder, because the medieval monastery garden had several functions: It was used for self-sufficiency as well as for the production of remedies and also had a symbolic meaning. The latter was particularly evident in the choice of flowers. For example, the white rose was planted to symbolise the virginity and purity of the Mother of God. The same applies to the lily of the valley, which is still known today as the Marian flower. The red rose was also popular. It symbolised the love and suffering of Jesus Christ. A tradition that is still used today: Daffodils, which stand for eternal life and the hope of life after death, grow in the monastery garden of Admont Abbey, as do red and white tulips, which symbolise the passion of Christ as well as purity and innocence.
Here's to good neighbourliness
Admont Abbey's monastery garden is looked after by Isabella Berghofer and her team. The flowers, herbs, vegetables and fruit that thrive here are a colourful mix of annual and perennial plants. However, what should grow where is not left to chance, but must be carefully considered, as the head of the monastery nursery emphasises: "With herbs, care must be taken to ensure that only those that require the same care are planted next to each other." Mediterranean herbs, for example, need a lot of sunlight and poor, sandy soil, while lovage, for example, prefers nutrient-rich and moist soil. The expert can also provide practical tips for vegetables: "Lettuce and kohlrabi make excellent bed neighbours. However, tomatoes and cucumbers should not grow in close proximity to each other. The same applies to parsley and chives."


Which herbs should not be missing
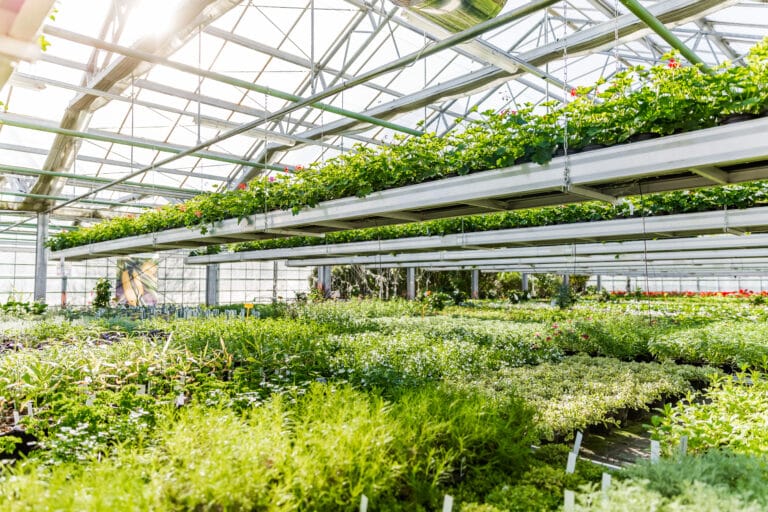
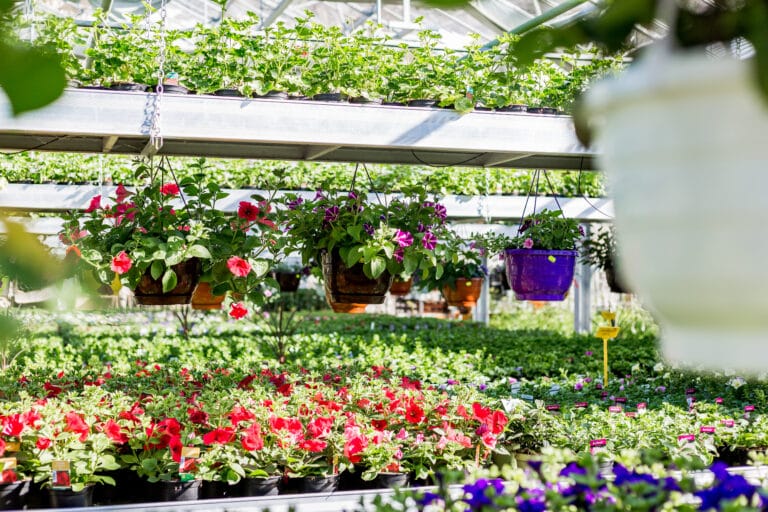
Which herbs you should plant in your own monastery garden depends on their use. Traditionally, both medicinal and culinary herbs are planted. Sourcing the latter is simple: classics such as rosemary, lovage, thyme and sage can be easily purchased. However, to make teas, tinctures and cold extracts for your own medicine cabinet, you also need medicinal herbs that can only be found in selected specialist shops. These include: Yarrow, ribwort plantain, lady's mantle, St John's wort and marigold. Melissa, camomile, peppermint, marshmallow, wormwood, lavender and echinacea should also be included. When planting, it should be noted that herbs with a tall growth habit, such as echinacea and various types of mint, should be placed in the centre of the bed. Herbs that require less space should be planted around the edges.
Creating a monastery garden: Steps 1 to 7
As soon as the plants have been selected, you can start creating the monastery garden:
Step 1: Measure out the beds and hammer a small wooden peg into each corner. Then tie a string around the geometric fields. Important: Leave enough space between the beds for the paths.
Step 2: The borders of the beds are now cut along this boundary with a spade.
Step 3: Remove the turf from the marked out fields and loosen the soil underneath with a spade.

Step 4: Mix the existing soil with previously purchased plant soil so that the soil provides an optimal basis for the selected vegetables, herbs and flowers. Where Mediterranean herbs are to grow, fine sand can be added to the soil.
Step 5: When planting, work from the inside to the outside. Tall plants should grow on the inside of the bed, lower plants on the outside.
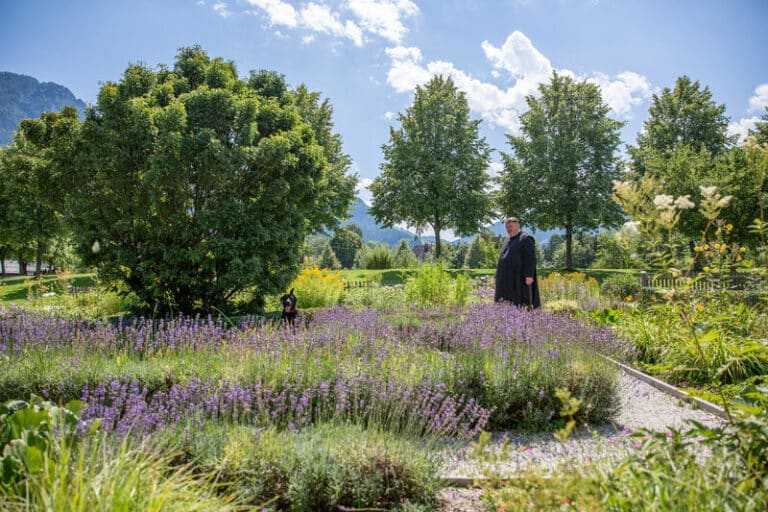
Step 6: There are many different options for edging the beds. Lavender is very suitable, as it scores highly with its bushy growth and beguiling fragrance and is also easy to care for. Short-cut privet and boxwood hedges are also ideal.
Step 7: To create gravel paths between the beds, the existing turf layer must also be removed first. The soil is then excavated and a layer of gravel or chippings is laid on top. This should be covered with a fleece to prevent weeds and then the path should be filled with gravel.